Make a DIY Vase with Clay Accents
Share
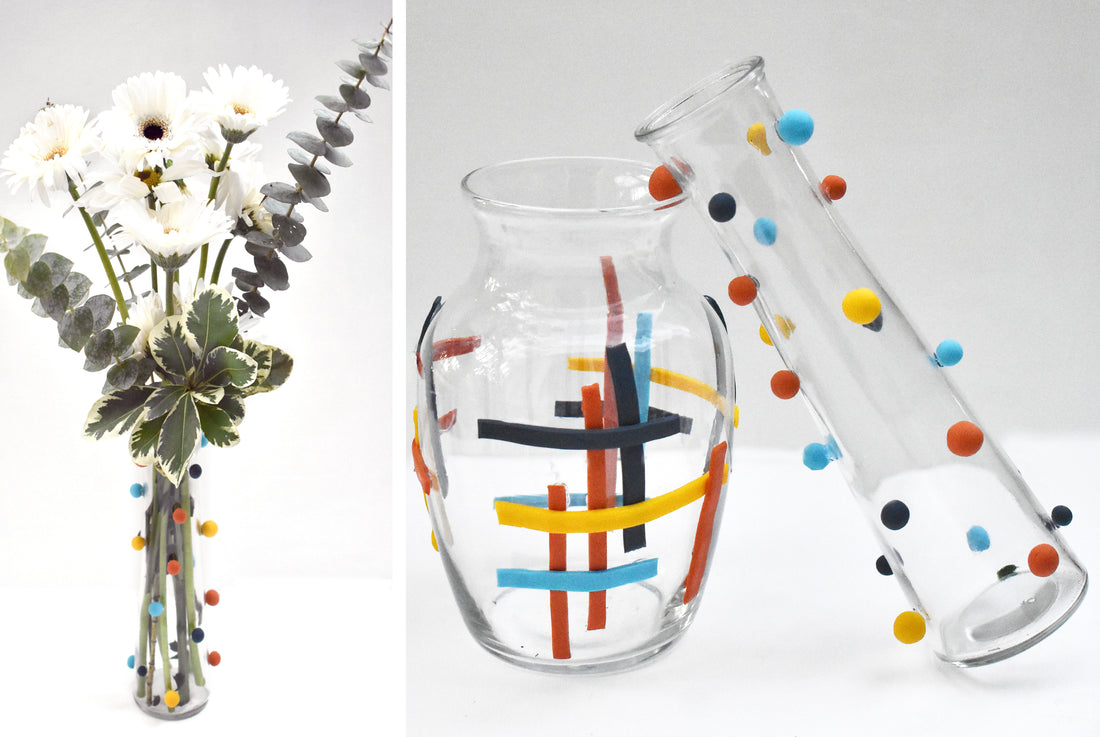
If you’re like me, then you have a whole cabinet filled with vases from previous bouquets, gifts, and treasures you spotted at secondhand shops. However, after awhile, they may seem boring, and you want something new. So, rather than buying more goods that will eventually end up in the same cabinet, you can up-cycle a vase you already own with this craft!
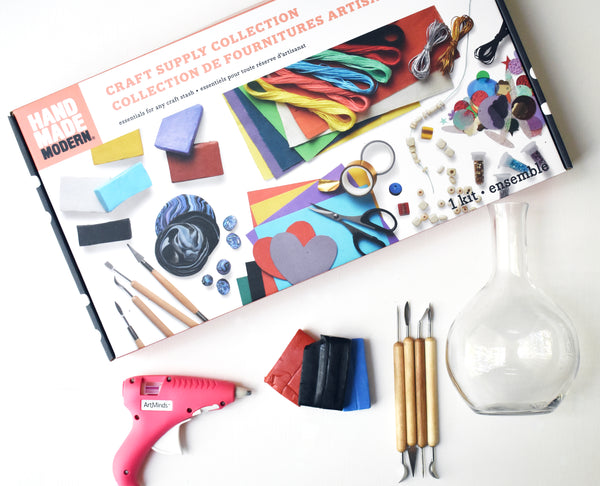
We’ll use polymer clay from the Handmade Modern Craft Supply Collection to add unique and handmade design accents to any vase or planter. One of my favorite things about polymer clay is the ease of using it, especially for beginner crafters. In addition, it doesn’t dry out because it must be baked to cure and harden, which is perfect for attempting new designs and taking your time creating something special.
Supplies:
- Handmade Modern Craft Supply Collection includes:
- Polymer Clay
- Clay Working Tools
- Vase or Planter (glass, ceramic, or metal will work)
- Hot Glue Gun
- Parchment Paper
- Baking Sheet
- Working Oven set to 275 degrees

Step 1: Start by working your clay to make it pliable. Just fold it back and forth between your hands to soften the clay. Once you’ve softened your clay, it’s time to start blending colors to make a custom color palette. To blend shades, simply take 2 different colors and work them between your fingers the way you did to make the clay pliable.
For example, I created a terracotta shade by using 2/3 yellow with 1/3 red, add a little more or less red for the perfect shade of orange.
Step 2: The two designs we’re creating are an abstract plaid and a three-dimensional polka dot, but you can use similar techniques to create many different designs. Before starting each design, set your oven to 275 degrees, let it preheat while you work.
Step 3: For the abstract plaid, select 3 or more colors and roll each color into a thin, ¼” thick or less piece of clay. Using the blade tool and metal ruler, cut ¼” wide strips by straightening your ruler on top of the flattened clay and running your blade along the edge, move your ruler over ¼” and run your blade along the ruler again to create your clay strip. You’ll need a minimum of 4 strips for each plaid section on your vase, in the sample vase I used 16 strips that measure from 3” to 6” in length. Using the same blade tool, trim both ends of each strip for clean edges on all sides.
Step 4: Gently move your strips of clay onto a parchment-lined baking sheet, be sure to lay each strip with care so they are level. If they are bent or wavy, they will bake that way permanently.
Step 5: Transfer your baking sheet into the oven and bake for 8-10 minutes until the strips are hardened yet still pliable. If you bake them too long, they can become brittle and break.
Step 6: While your first design is baking, you can start on the polka dot design. Taking each color of clay separately, pinch off a small portion of clay, about the size of a quarter or less.
Step 7: Start rolling that bit of clay in between both palms of your hands in a circular pattern to create a ball. Continue rolling the clay ball gently with your fingers or palms until it’s smooth and all lines have been smoothed out. Continue these steps until you have 15 or more clay balls in varying sizes.
Step 8: Transfer these onto a parchment-lined baking sheet, be sure no polka dots are touching, or they will fuse together in the oven. Place your baking sheet in the oven for 10 minutes when the first batch is complete.
Step 9: Once both designs are out of the oven and cooled, it’s time to attach all these clay pieces to your vases. Turn your first vase onto its side and plug in your glue gun. Tacky glue will also work for this craft but will take a bit longer to dry before you can rotate your vase to do all sides.
Step 10: To create the abstract plaid pattern, select 4-6 strips including all colors and arrange them in an overlapping pattern. Attach your first layer of 2-3 strips horizontally approximately an inch apart from each other, then take the other 2-3 strips and attach them vertically on top of the horizontal strips. Create a composition with more gaps or shift some to one side or another for a dissected plaid pattern.
Step 11: Continue these same steps in multiple places around your vase. Set aside to let your adhesive set and move onto your second vase.
Step 12: To attach your 3D polka dots, use your hot glue gun by putting a small dot of glue on the back of a clay ball and press it into the side of your vase.
Step 13: Place each dot sporadically around the vase for a funky style; you can also create stripes of polka dots for a more defined pattern.
Continue gluing each dot one at a time until you have a classic polka dot pattern on your vase.
Once your vases are complete, and your glue is dry, they’re ready to decorate your home with. Gather your favorite blooms to fill your new and unique vases; they’re sure to be a conversation piece in any room!
Thanks for crafting with me and Handmade Modern! We want to see your finished art projects. Post on social media what you created and tag us using the hashtags #handmademodern #gomakestuff

