Paper Garland DIY
Share
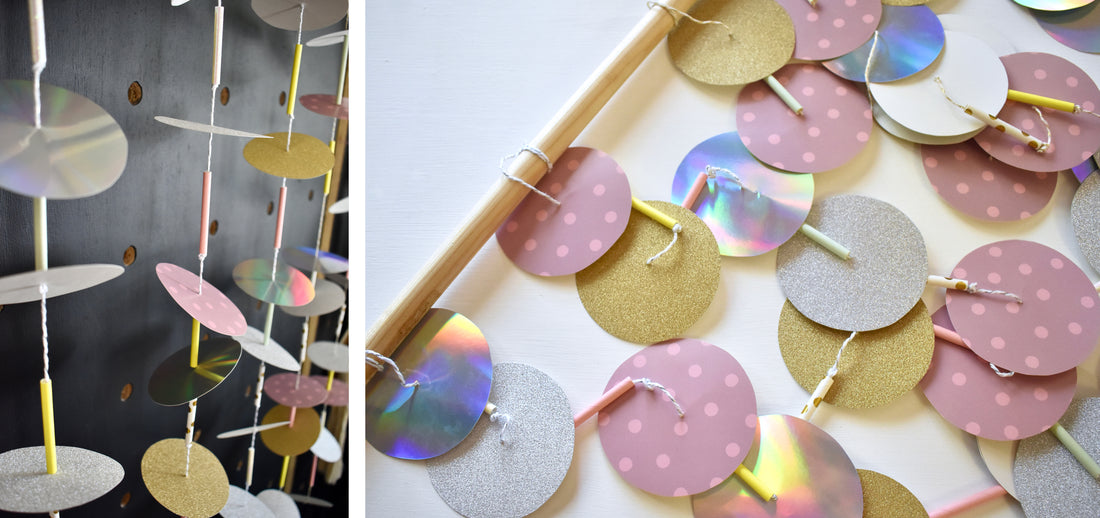
Looking for a simple way to make your next event a smash? Then this DIY is perfect for you! Using the Handmade Modern Paper Garland Kit, I created my own vertical garland backdrop that is dreamy for a party and can easily double as a wall hanging long after all your guests go home. Rather you’re making a mini backdrop to go behind a dessert table or looking to create an entire photo backdrop, the steps to this craft can be expanded upon to fit any size wall or event. With just a handful of supplies, this craft will quickly become your go to for every occasion, I know it’s one I’ve repeated multiple times using different color palettes to make each event feel unique!
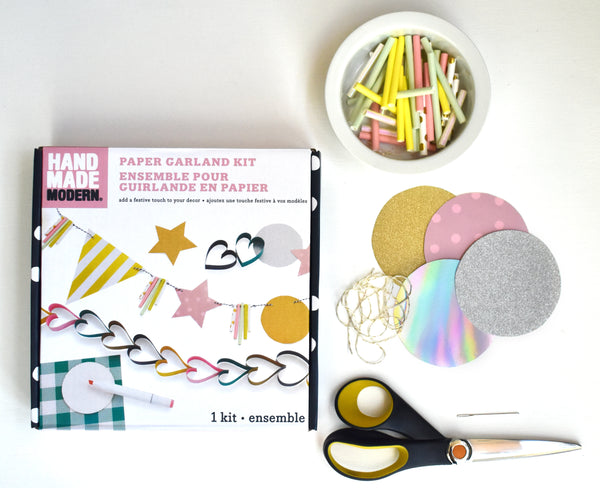
To begin your hanging paper garland, start with selecting your color palette and gathering your materials. In this tutorial, we went with a paired down color scheme of pink and metallic, all these color options are included in the Handmade Modern Paper Garland Kit but feel free to select any color combination that coordinates best with your space or event. In addition to my paper choices, I’m also including the metallic twine and all the colors of paper straws for a well-rounded look.

Supplies:
- Handmade Modern Paper Garland Kit includes:
- Patterned and Metallic Paper
- Paper Straw Segments
- Metallic Twine
- Sewing Needle
- Cardboard Template
- Wooden Dowel (optional)
Tools:
- Scissors
Step 1: Trace your template, for this garland I’m using the circular template which can easily be traced 4 times on each sheet of 8” x 8” paper. To complete this multi strand garland backdrop, I used all 4 sheets of each style paper.

Step 2: Once you’ve finished tracing all your circles, it’s time to cut! Simply cut out each circle with a pair of scissors along the line you traced. You can always cut away excess paper to make it easier to be precise or go back to trim away any extra bits to create a smooth edge.

Step 3: Now that all your circles are cut out, it’s time to move onto stringing your garlands, which is like beading a necklace. To start, cut a 3’ length of twine. Since I’m creating multiple strands of garlands to hang vertically together, each strand is approximately 3’ in length.

Step 4: Now, thread the eye of your sewing needle with one end of the twine and tie a double knot on the other end. Taking your threaded needle and your first paper circle, flip the circle upside down and puncture your needle through the center of the side without a pattern. Pull your twine through the circle until you get to the knot bottom of your twine.
Step 5: Take your twine and create a 1-2” gap above the circle you just strung on, tie a double knot creating a gap of space from the paper circle to the knot, this will allow some of the metallic twine to show between circles.
Step 6: String a paper straw onto your twine, let it fall to the knot you just created and tie another knot 1-2” above the paper straw. You should have a 2” gap at the top and bottom of your paper straw.
Step 7: Next, you’ll string on a different color or patterned circle and start the pattern over again. You can also skip the gap of twine showing and put a paper straw directly between 2 paper circles as well, I did a varied look so some included twine gaps and some did not.
Step 8: When you get to the end of your twine, unthread your needle and your vertical garland is complete!
If you’re only making one garland, then it’s ready to hang vertically or horizontally depending on your space. But if you’re creating a backdrop or wall hanging, continue the same beading technique for 5 or more strands until you have your desired look.
Step 9: Lastly, a simple way to hang all your garland strands at once is to tie them to a wooden dowel, you can space them further or closer together for a layered look and it can be hung as wall decor or used as a backdrop for events over and over again.

Now you can create numerous garlands in a similar fashion with different color combinations, template shapes and more.
We want to see your finished art projects. Post on social media what you created and tag us using the hashtags #handmademodern #gomakestuff

