Back to School Clay Locker Garland DIY
Share
It is already August and for some families, that means it is time to start thinking about going back to school! If your kids are already asking for new clothes and school supplies, chances are they are thinking about things to decorate their lockers with, too!
Luckily, there are plenty of creative and inexpensive ways to DIY locker decor, because believe it or not, lockers are a big part of going back to school. My kids already start talking about their locker placement before they even know who their teacher is!
You see, to kids, lockers are more than a place to keep books and lunch. They are a space to hang out in between classes, and so for some kids, it’s important to them to show their personality and have some fun locker decor to show off! Luckily, it is fairly simple to create some DIY locker decor, so we hope this clay garland inspires you and your kids to make some of your own!
Materials Needed:
- Kid Made Modern Clay Garland Kit
- Scissors
Instructions:
Step 1
Start with the clay. There are five different colors of polymer clay that come in the kit. Use your fingers, a knife or the included clay tool to break the pieces of clay up into smaller pieces. Then, put all of the pieces in your hand and gently massage them together a bit (this is also a great way for kids to practice those fine motor skills!).

Only massage the clay long enough so the pieces start to stick together. If you massage them for too long, the colors will blend together.

Step 2
Form the clay into the shape of your choice. Choose whichever color combination you like best. You can roll them into different shapes - circles, ovals, flat pieces, etc.!
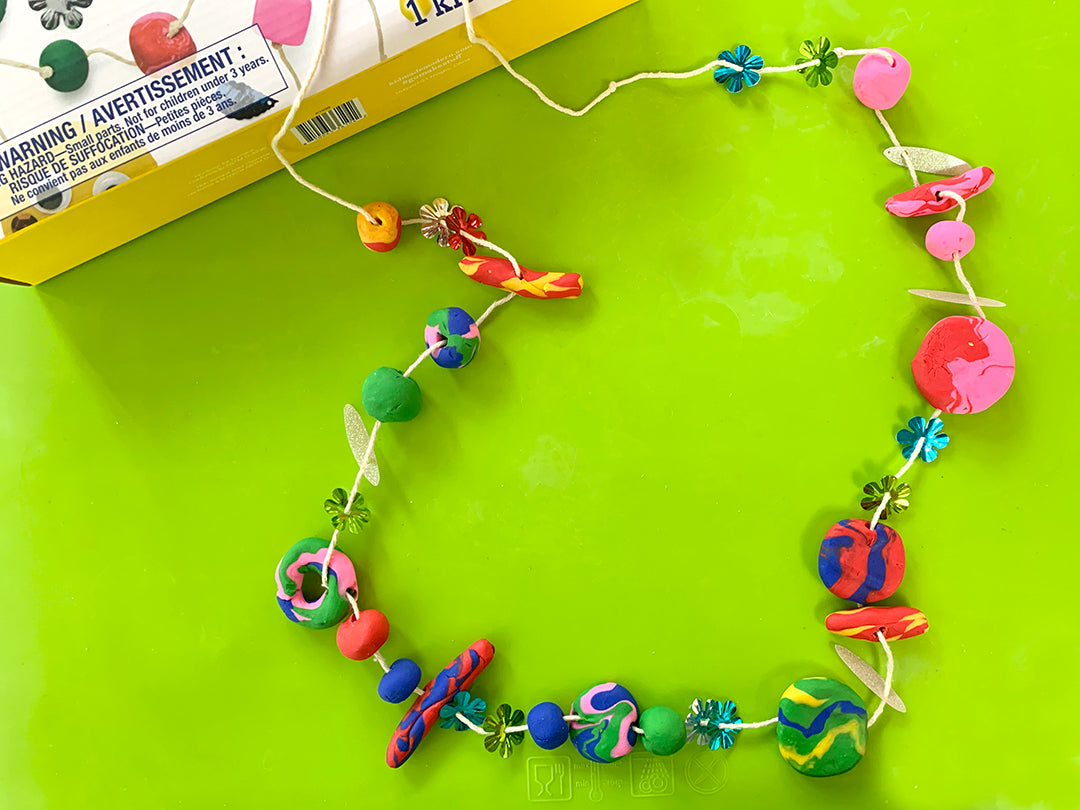
In this case, we did mostly circles and a few ovals and we combined 2-3 different colors of clay to make cool swirly designs.

Step 3
Use a pencil or similar object to poke a hole through the top. This hole is where you will thread your garland twine through.

Step 4
Lay the clay flat on a cookie sheet and bake your clay according to package directions. When done, the clay should be dry and hard to the touch.
Step 5
Make a knot at the end of the twine and thread a sequin or piece of clay through. Then, add your clay pieces and some accessories to your garland! We used a bunch of sequins to enhance the appeal of our locker decor. The end result is a fun, colorful combination!

This DIY Clay Garland is the perfect way for your kiddo to spice up their locker with their own unique style. It’s so simple to create and with the open ended supplies included in Kid Made Modern’s Clay Garland Kit, their locker decor can be designed however they like. Just give your children the supplies and let them take the lead!

About the Author:
Jaclyn Ryan is a mom of four and former teacher. She lives in Connecticut with her family and prefers to engage her children in activities that foster creativity and connection -- and that are also fun!

