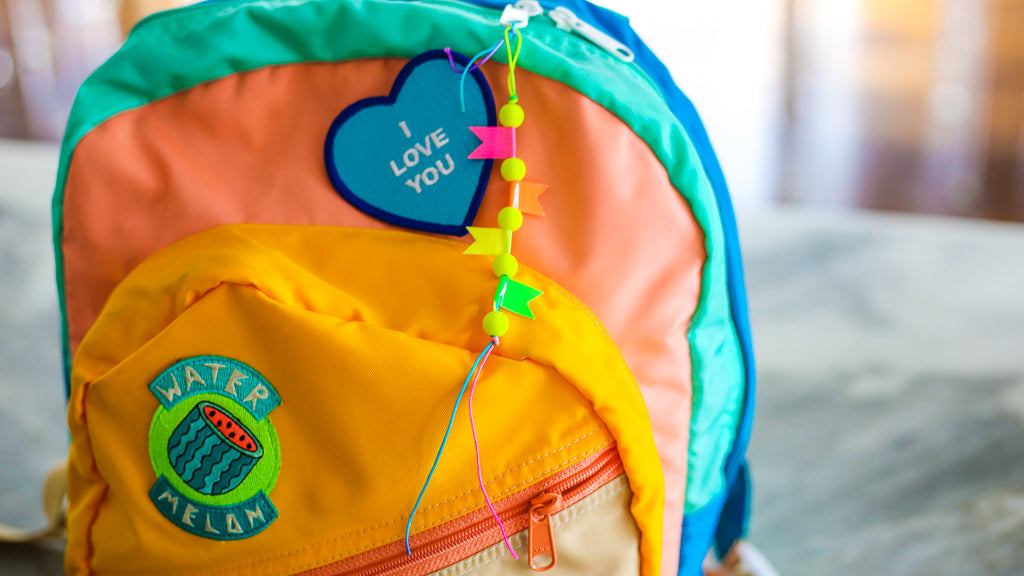
DIY Beaded Lanyard
Share
These neon lanyards are the perfect way to help you keep track of all your stuff and stand out in a crowd. Try using one to tag a backpack zipper, loop on a keychain, or customize an ID badge. The possibilities are endless!

Materials:
- The Smarts + Crafts Bright Bundle Craft Kit
- Scissors
Steps:

1. Create looped base -- cut a length of rainbow cord and fold it over. Slide both ends of the cord through a bead and slide the bead up to create a loop at the top. Tie a knot to secure loop.

2. Bead lanyard -- slide additional beads on to cord to create lanyard.


3. Add washi tape decor -- cut a piece of washi tape and fold it over the nylon cord in between beads. Trim the tape into whatever shape you like. We made notched flags here but fringe is fun too! Repeat down the length of the lanyard.

4. Tie end -- when you have the pattern you like, secure the lanyard by knotting the cord at the end and trimming the tails. You can use another piece of cord to tie the lanyard on to whatever you wish!

* * *
Shop our Smarts + Crafts Bright Bundle Craft Kit here.

