DIY Best Friend Necklace
Share
If you grew up in the 1980’s and beyond, I am certain that you know all about the “best friend necklace” trend that existed back then. They were simply all the rage.
I recently had a wave of nostalgia come over me when I spotted my nine year old daughter wearing a “best friend necklace” that came alongside a book she ordered through her school. After reading the book, children were encouraged to give their “best friend necklace” to a good friend as a gift.
This then led to an interesting conversation with my daughter about what really is a best friend, what makes a good friend, and why she would pick someone in particular to call her “best friend” -- because if she was going to wear one of these necklaces around every day, I wanted her to know the real meaning behind it.
After we chatted for a bit about the meaning of a friend, I thought it would be nice to make some of our own as a way to celebrate friendship this Valentine’s Day. Because while store bought best friend necklaces are wonderful, there is something extra special about a homemade gift.
Making your own best friend necklace is actually relatively simple and open-ended. Kids of all ages will be so excited about this project and parents will love that it’s easy and mess free. Give your children the supplies and let them take the lead.
Materials Needed:
- Kid Made Modern Arts and Crafts Supply Library
- Polymer clay
- Letter beads (optional)

Instructions:
Step 1
Use clay for the heart charm. We used polymer clay that came in all sorts of fun colors.
Use a knife or similar tool to break the pieces of clay up. Then, put all of the pieces in your hand and gently massage them together a bit (sidenote: this is a great way to practice those fine motor skills!). Only massage them long enough so they start to stick together. If you massage them for too long, the colors will blend together.
Step 2
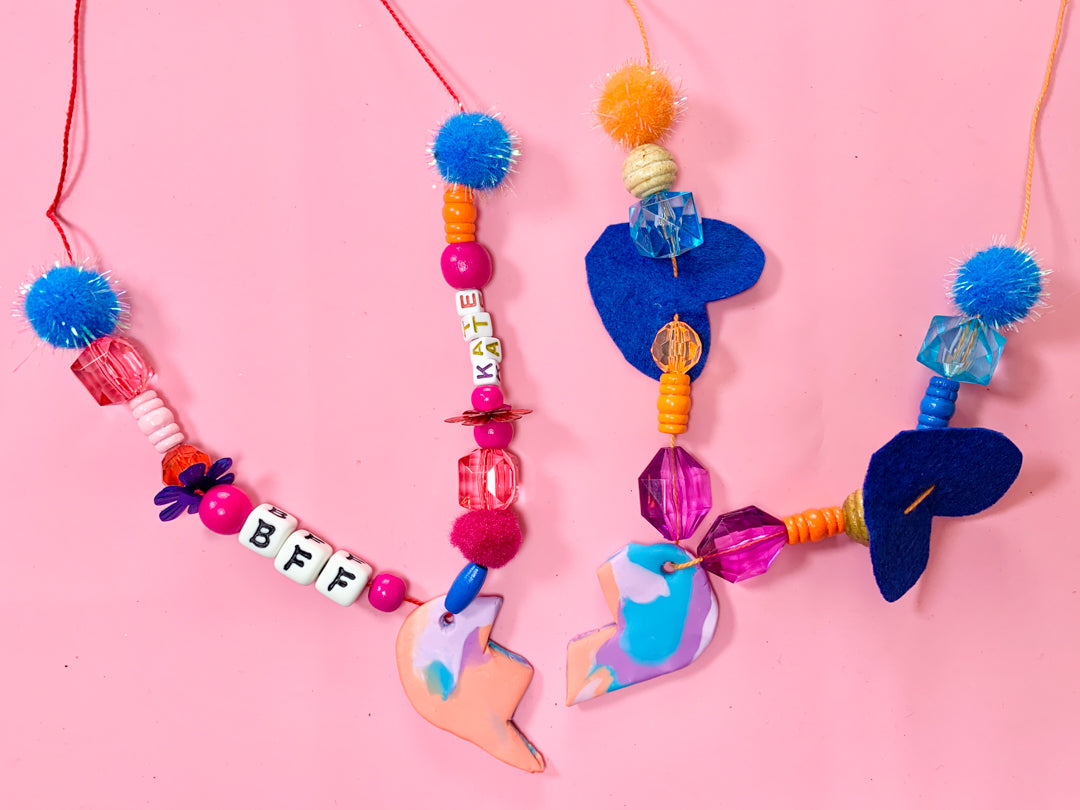
Form the clay into the shape of your choice. In this case, we did two broken halves of a heart, and we combined 3-4 different colors of clay to make a cool swirly design.

Step 3
Use a pencil or similar object to poke a hole through the top. This hole is where you will thread your necklace string through.

Step 4
Lay the clay flat on a cookie sheet and bake your clay according to package directions. When done, the clay should be dry and hard to the touch.
Step 5
Add accessories to both sides of your charm! We used the needle included with the Arts and Crafts Supply Library to thread more beads, some gems and even pom poms onto the necklace. The end result is a dazzling combination!

Once your Best Friend necklace is complete, try having a chat with your kids about the meaning behind friendship, and about how the act of giving a homemade gift to someone can actually be very rewarding. The effort and thought that goes into giving a homemade gift is really something special. I hope you enjoy this project with your children and that they will be able to give it to someone special.

About the Author:
Jaclyn Ryan is a mom of four and former teacher. She lives in Connecticut with her family and prefers to engage her children in activities that foster creativity and connection -- and that are also fun!

