DIY Garden Pinwheels
Share
The first full week of June each year is National Garden Week. As a family, we love spending time outside, and while we try all the time to plant seeds and create flower arrangements, I can’t say that we are a family blessed with green thumbs. We wanted to take this opportunity to use one of the suggestions from the National Garden Clubs to beautify an existing garden.
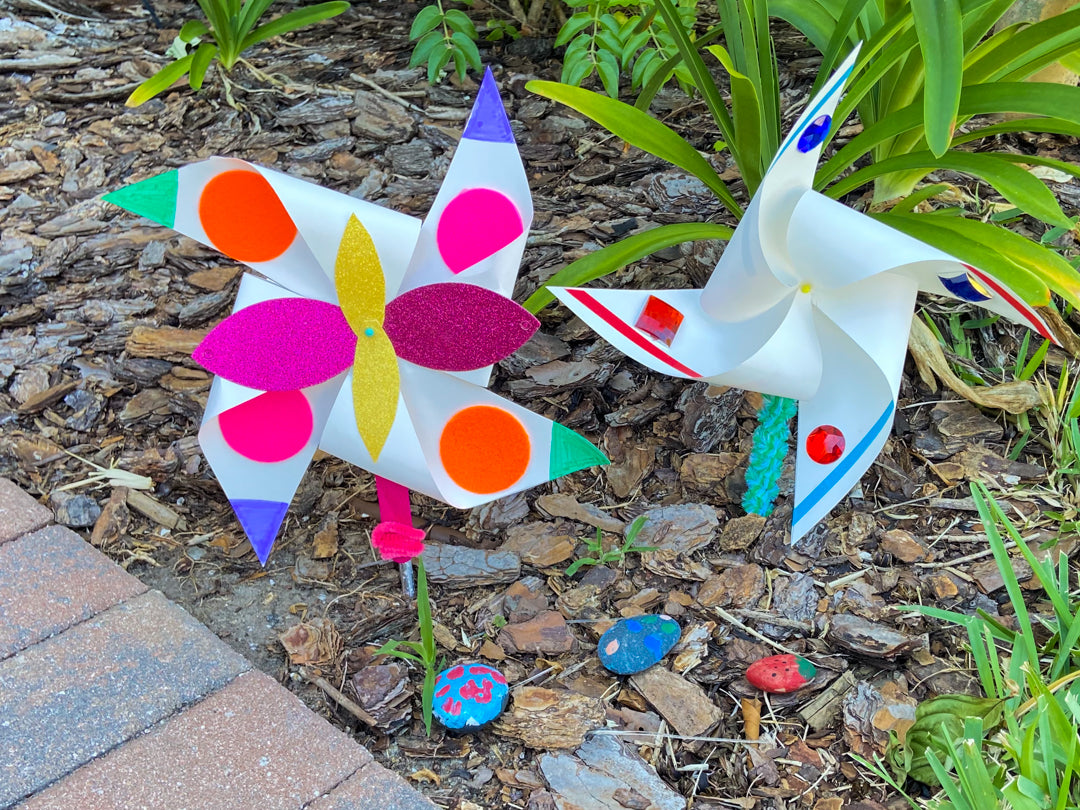
When our My First Arts + Crafts Library arrived, we looked through all the great contents and landed on creating pinwheels. We have a really nice arrangement of green plants outside, but we knew some painted rocks and pinwheels would enhance the area further. Plus, while talking about National Garden Week and making our pinwheels, we actually planted some more seeds and are going to try our hand at growing a mini cactus from a seed this summer. Hopefully it works!
The My First Arts + Crafts was the perfect kit to use for this project for a lot of reasons, but my favorite one was that most of the items in the kit are sticker backed, so we didn’t have to add to the weight of the pinwheel with glue. If you make pinwheels, or any other crafts, with this kit, I promise you’ll appreciate that too!
There were a few steps to this project that need to be done by an adult, but there are a lot of times that creativity is involved and can give chances for kids of a variety of ages to participate. I’d definitely encourage you to make multiple pinwheel templates so each of your kids can make one.
Supplies you'll need:
-
Plain Paper
-
Markers
-
Scissors
-
Pencils with erasers to use as stakes
-
Pushpins
-
Ruler
Step 1:
Cut your paper into a square. I used watercolor paper to have a good weight to it, and I created 9” x 9” squares.
Step 2:
Draw lines from the corners to the middle to use as guide lines for cutting the pinwheel templates

Step 3:
Cut a tall and skinny V shape from the corner into the middle to create body of the pinwheel.

Step 4:
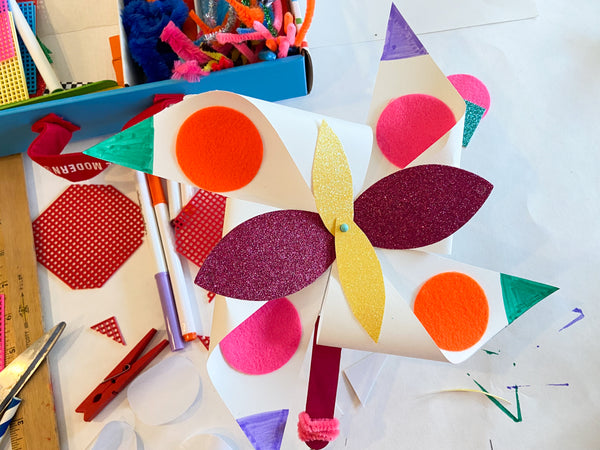
Fold one corner of each wing into the middle. Once all four wings are gathered, pin the four wings to the center of the pinwheel. The box came in really handy here, as I was able to press the pin into the box to hold the pinwheel still to decorate.

Step 5:
Push the pin into the eraser of a pencil, and either decorate the pencil or attach a popsicle stick to the pencil to cover it up. You’ll see that one of our pinwheels used a popsicle stick and the other used a pipe cleaner to dress up the pencils.

Step 6:
Decorate the pinwheel. The nice thing about using a heavier weight paper is that the pinwheel can hold a lot of decorations. Depending on whether you care if the pinwheel actually spins, talk to your kids about the weight of the items. I suggested to my daughter to make the pinwheel symmetrical so that it would spin evenly.

Step 7:
Press the pencil into the ground in your garden. If you want, add decorations besides the pinwheels like we did!

The pinwheels were really fun! They take a little more adult supervision, even for my 6 year old, but once the base is created, they’re great to decorate.
We hope you have fun celebrating National Garden Week! Use this activity with a school or community group and then go beautify your gardens!
About The Author
 Meghan is a busy mom to Olivia and Maddie. She’s a full time teacher and part time playtime planner. She runs the playtime planner business and would love to help you fit more playtime and activities into your busy schedule.
