
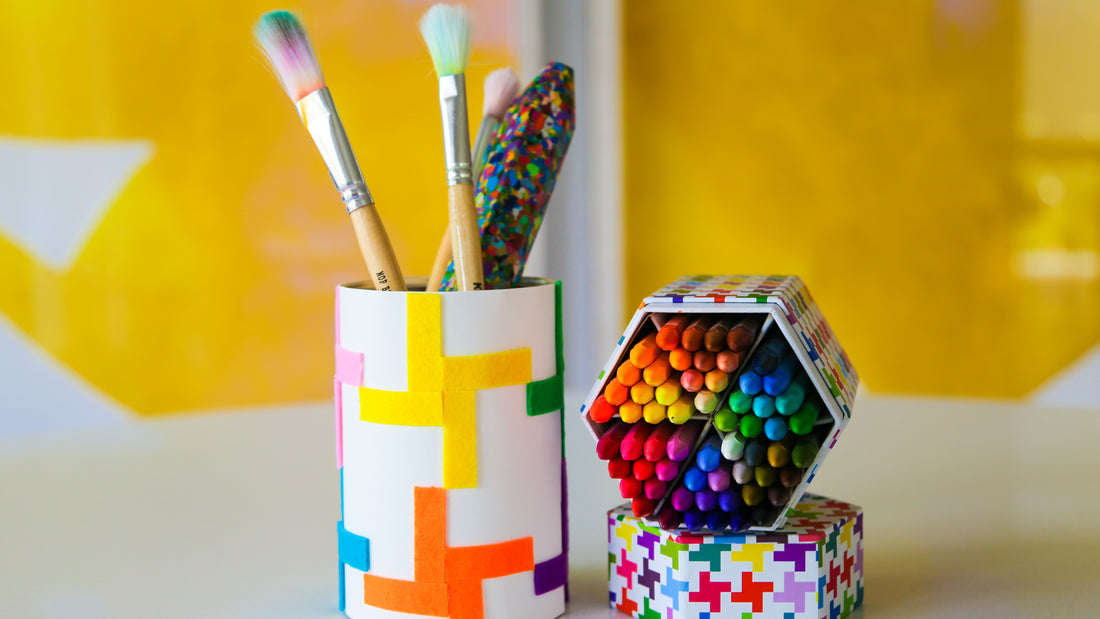
DIY Pencil Holders
In most households, no matter how many pencils you purchase, it's pretty much a given that kiddos will be searching high and low for something to write or draw with when they're ready to create. No more! Our DIY Pencil Holders will help corral all your writing and art materials in style. With a little help from your recycling bin and our Arts & Crafts Supply Library, kids can design and craft their own accessories container. There are endless ways to craft this up, but we've given you a few ideas to get started. Craft on!
Supplies
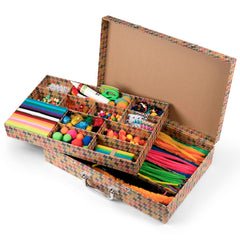
- Arts & Crafts Supply Library
- clean recycled containers (glass jars, aluminum cans with the top removed, cardboard containers, etc.)
- hot glue gun (REMINDER: exercise precaution and supervise kids when using a hot glue gun)
- white paper

Craft Stick Container -- it just so happens that our craft sticks are the same height as most 15 ounce aluminum food cans. So they are perfect for a craft stick container!
1. Clean can -- when you've eaten the contents of one, completely remove the top of the can, remove the label, and clean it well.

2. Glue craft sticks to can -- using the hot glue gun, place a line of glue vertically down the can. Stick a craft stick onto the glue, lining it up flush with the top and bottom of the can. Repeat making a pattern of craft sticks around the can. If you need, you can cut the last stick to fit.

3. Add some accessories -- you can add whatever you'd like onto the craft sticks. We personalized this one by stringing letter beads on to a piece of embroidery floss, winding it around a few times, and securing with a dab of glue in the back.

Felted Holder -- try using the rainbow of felt colors to make all sorts of patterns on a holder.
1. Clean jar -- wash the inside of the jar, discard the top, and dry.

2. Cover label -- labels on cardboard containers are part of the container itself, so you'll need to cover them first. Cut a piece of white paper to fit the container and glue it on with the glue gun, covering up the label completely.

3. Design your pattern -- play around a bit with cutting different shapes of felt and arranging them in a pattern. A random mosaic of pieces works well for younger kids too.

4. Adhere felt to container -- working one piece at a time, dab a bit of glue onto the felt and press on to the container. You can use the glue in the kit or the glue gun here.

Bejeweled Jar -- the Arts & Crafts Supply Library comes with a gorgeous array of gems that look just perfect on a clear glass jar.
1. Clean jar -- remove any labels and wash well.

2. Glue gems to jar -- using the hot glue gun, glue each gem onto the glass. Dab a bit of hot glue onto a flat facet of the gem and place onto glass. You can make a specific pattern or place them randomly.

3. Clean off excess glue -- once the gems have fully dried, you can wipe off any excess strands of glue using a wet paper towel or cloth.

* * *
Shop our Arts and Crafts Supply Library here!
* * *


