Father's Day DIY Coasters
Share
This Father’s Day, homemade gifts are truly the way to go. My husband has quite the collection already of the perfectly imperfect homemade gifts that my children have made over the years. They still bring a smile to his face every time he looks at them.
With Father’s Day just around the corner, now is a great time to make a handmade gift every dad in your life would enjoy! This homemade coaster is actually quite simple to create and uses just a few basic materials. Kids of all ages, from preschool aged on up, can easily complete this craft with just a little bit of help from an adult.
So, grab your Kid Made Modern Arts and Crafts Supply Library, some basic supplies and your kids and get them involved in the process.
Materials Needed:
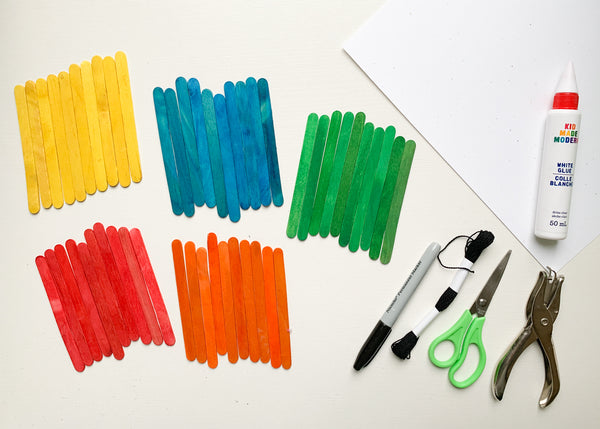
From the Kid Made Modern Arts and Crafts Supply Library:
-Craft sticks
-Embroidery thread
-Scissors
-Glue
Additional Supplies:
-Black marker
-Pencil
-Hole punch
-Cardstock paper
Step 1:
Gather your materials. We used ten of each of the following colored craft sticks: red, orange, yellow, green and blue.

Step 2:
Glue the bottom layer of your coaster together. Ten craft sticks glued together make a nice, square bottom layer. We glued ours in “rainbow order”, but your children can do this however they’d like. Simply place glue inside the edges of the craft sticks and press together. Allow the glue to dry before moving on to the next step.

Step 3:
Once your bottom layer of the coaster is complete, move on to the next layer. Use cardboard or some other surface while working to protect your table from a mess.
Spread glue all over the top of the coaster. Then, lay your craft sticks in the opposite direction. Feel free to use your creativity here and let your kids create fun and interesting patterns, as there is no right or wrong way to do this!

Step 4:
Press down firmly to allow the glue to seal.

Step 5:
Repeat the process until you have used up all of your craft sticks. Allow the glue to dry completely before moving on to the next step.

Step 6:
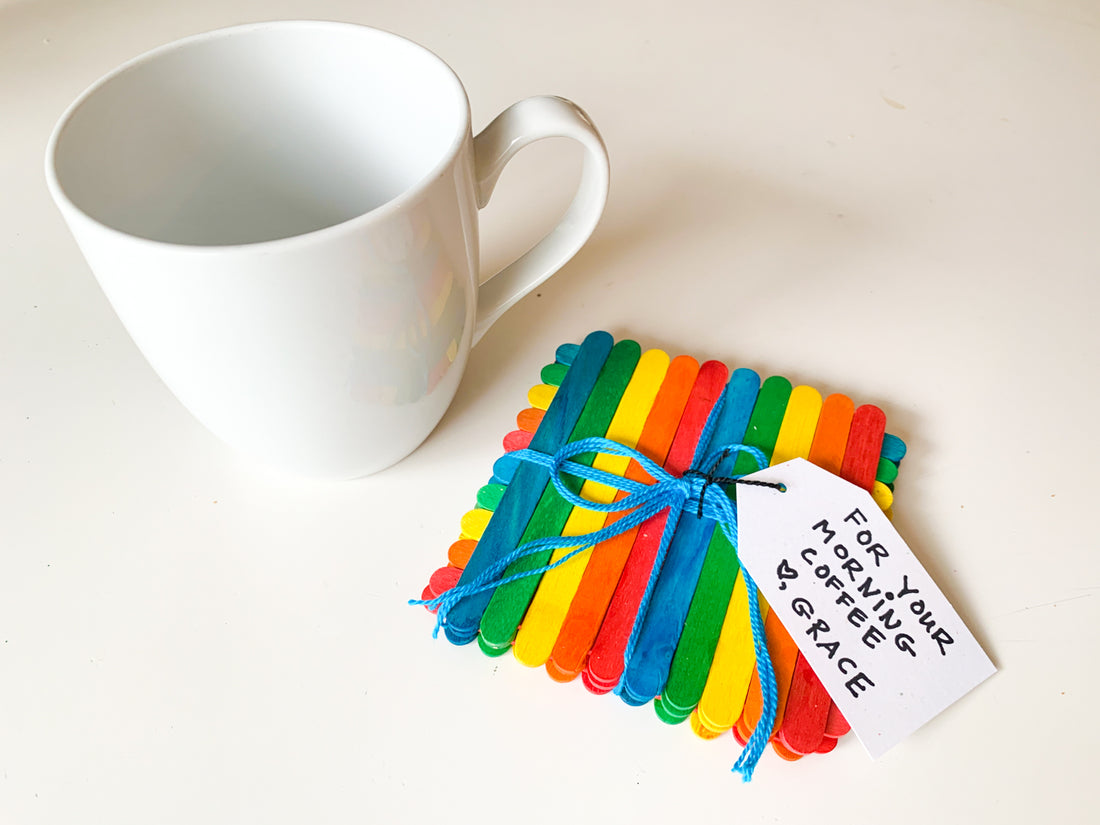
Grab some of the embroidery floss and cut a piece long enough to wrap around the coaster several times. Then, wrap the floss around the bottom, cross it at the center and tie it in the middle. We tied the ends in a bow and trimmed them.

Step 7:
Add some finishing touches. We cut a piece of cardstock out and punched a hole in the end to make a nice card for the coaster. We then attached it to the bow with a simple knot. This is totally optional but does add a little personal touch!
When your Father’s Day coaster is complete, go ahead and make the dad in your life’s day by gifting him this simple and useful homemade gift. It is easy to create, doesn’t require much in the way of materials and is a lovely way to show him how much you care.

About the Author:
Jaclyn Ryan is a mom of four and former teacher. She lives in Connecticut with her family and prefers to engage her children in activities that foster creativity and connection -- and that are also fun!
