
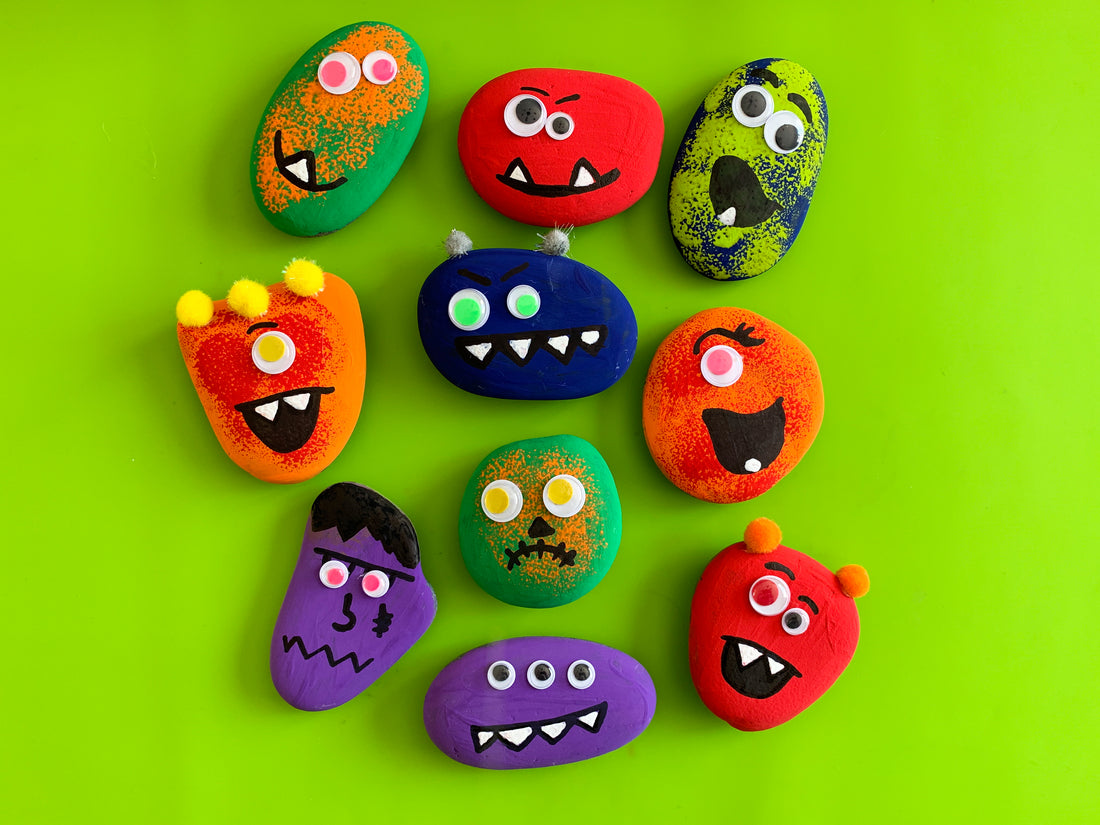
Painted DIY Monster Rocks
Over recent years, painted rocks have become such a fun trend within the kids crafting world. In years past, our family has spent some time vacationing in Maine where we collected rocks from a local beach. We gathered the rocks into our car, took them home and painted them, then placed them around our backyard as decoration.
Painting rocks can be fun for the whole family, and you can really let your children’s imaginations take off with this project.
With that said, with spring in full gear and summer being just around the corner, we thought it would be fun to make some fun and decorative rocks using some of our favorite Kid Made Modern supplies!
To make your own Monster Rocks, grab your kids, your Kid Made Modern Washable Paint Set, your Kid Made Modern Arts and Crafts Supply Library, and read along!
Materials Needed:
-Smooth rocks (the smoother, the better)
-Hot glue gun
-Kid Made Modern Washable Paint Set
-Kid Made Modern Arts and Crafts Supply Library

Instructions
Step 1:
Gather your materials. You can find smooth rocks outdoors if you are lucky enough to live near a beach, or you can purchase them at most craft stores!
Step 2:
Start by cleaning off the rocks with a wet cloth. Then, paint your rocks a base color. We love Kid Made Modern’s Washable Paint Set for their vibrant colors and fun names!
Because of the dark, natural color of the rocks, we found we had to do 2-3 coats of paint to get a nice, vibrant color. Just be sure to let each coat dry in between.

Step 3:
If you’re feeling brave, try sponge painting a different color on top of your base coat. This was an experiment, but one that turned out well, we think!

Step 4:
Alongside your children, brainstorm some fun designs for your monsters. You can have fun with this as there is no right or wrong way to make a crazy monster rock! Feel free to add some fun facial details (a mouth, teeth, scars, etc.).

Step 5:
Use your hot glue gun to add some more fun details! We glued on pom poms and googly eyes - definitely use your imagination and get creative!

Step 6: (optional)
If you will be placing your rocks outside, you’ll want to cover it with a waterproof sealant first, otherwise the paint will wash right off.
These Monster Rocks are so much fun and relatively simple to create. When your rocks are ready to go, you can either simply keep them inside your house or take the kids outside to hide the rocks for someone else to find! Enjoy!

About the Author:
Jaclyn Ryan is a mom of four and former teacher. She lives in Connecticut with her family and prefers to engage her children in activities that foster creativity and connection -- and that are also fun!