

Sliding Knot Bracelet
A sliding knot is one of the easiest ways to make an adjustable piece of jewelry. We're going to use two sliding knots here to make a super cute adjustable bracelet. It's the perfect way to share baubles!

Materials:
- smooth cord or jewelry thread from any of our Jewelry Making Kits
- beads -- we're using some from our Mystic Jewelry Kit
- scissors
Steps:
- Cut a length of cord -- cut a piece of cord about 12" long. You'll need it long enough to slide the tails and make it adjustable.

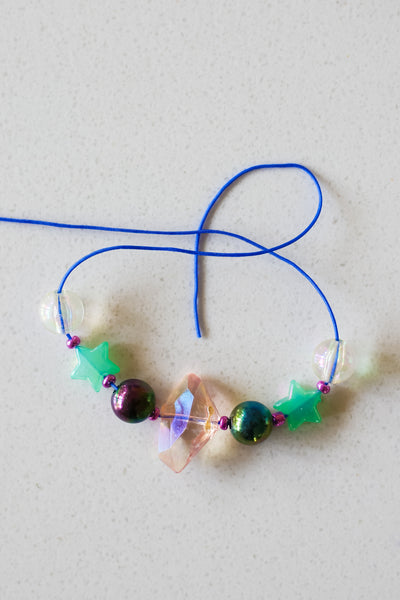
- Add beads -- slip a few beads on to the center of the cord piece.

- Tie first adjustable knot -- cross the two ends of the cord.

Fold the end on the right back to make a loop.
Wrap the end down around the back.

Bring it up the front and to the right through the loop.
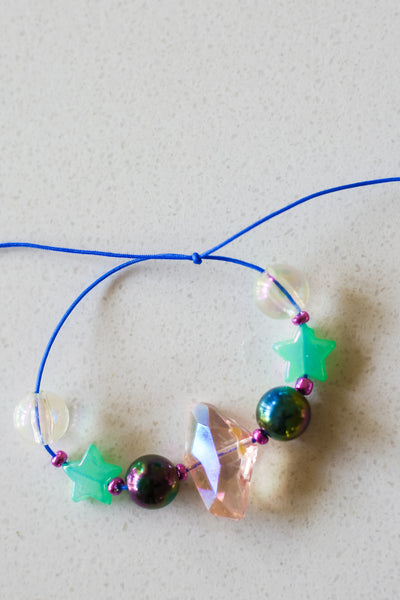
Pull taught.

- Tie second adjustable knot -- flip bracelet over and repeat with the other end of cord. Loosen the bracelet to put it onto your wrist and then pull the two ends of the cord to tighten the sliding knots.
