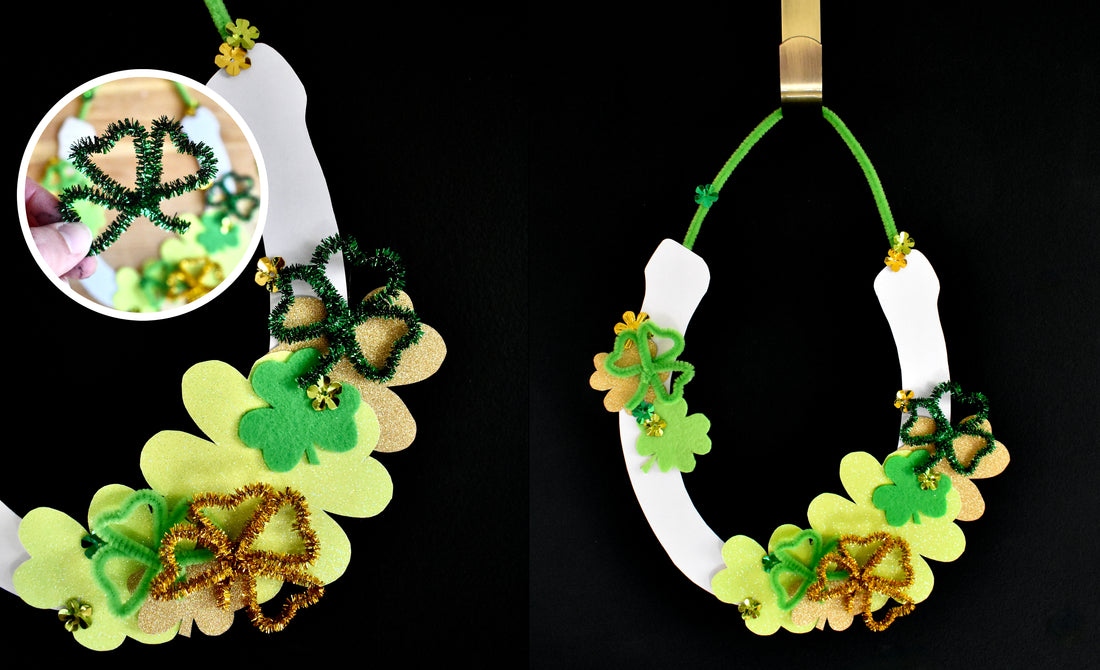
St. Patty's Day Wreath Craft DIY
Share
St. Patrick’s Day is just around the corner and crafting with all the green and gold details will get your home ready to celebrate! With a handful of supplies from the Kid Made Modern Arts & Crafts Library, this horseshoe and clover themed wreath will certainly bring you some luck. Let’s put on our green and craft some shamrocks, because it’s almost St. Patty’s Day!
Supplies:
- Construction Paper in white, gold and green (or colors of your choice)
- Horseshoe and Shamrock templates
- Fuzzy Sticks in shades of green and gold (included in Arts & Crafts Library)
- Flower shaped sequins (included in Arts & Crafts Library)
- Green Felt (included in Arts & Crafts Library)
- Scissors
- Hot Glue (Reminder: exercise precaution and supervise kids when using a hot glue gun)
- Additional green or gold details, such as rhinestones and pom poms can also be used to decorate your wreath.


To create your St. Patty’s Day wreath:
Step 1
If using the printable templates, cut them out or draw your own horseshoe and shamrocks in varying sizes on your construction paper. Once your templates are cut out, trace them on your colorful or glittery construction paper and cut out.
Using the small shamrocks, trace them on the felt and cut the fabric shamrocks out.
Step 2
Next, to create the fuzzy stick shamrocks, you will need one 12” fuzzy stick. Start 1” from the end of your fuzzy stick and bend to a 90-degree angle to create a short stem. Bend the larger portion of fuzzy stick into a 2” loop and twist around the stem. Follow the same step of creating loops two more times. Now that you have 3 loops and a stem twisted together, bend the loops in the center to make them look like a heart, you’ve now created a 3-leaf clover!
TIP:If using shorter fuzzy sticks, like the 4” metallic fuzzy sticks in the Arts & Crafts Library, use 1 short stick per loop, then twist them together and bend into hearts in the same fashion to create a 3 or 4 leaf clover.
Step 3
Using all 3 styles of shamrocks, layer them onto the cut-out horseshoe and glue in a composition you prefer.
Step 4
Once all the shamrocks are glued onto the horseshoe, add in flower shaped sequins by gluing them on top of the other shamrocks for an added sparkle.
Step 5
Lastly, turn your horseshoe over and using a 12” fuzzy stick, glue one end to the top of the horseshoe and bend the fuzzy stick and hot glue it to the opposite side of the horseshoe to craft a hanger for your wreath.
Step 6
Add more sequins or details to the hanger if you wish!
Your sparkly and green wreath is now complete, hang it on your front door or wall to easily decorate for March 17th! Happy St. Patty’s Day!

We want to see your finished kids' art projects. Post on social media what you created and tag us using the hashtags #kidmademodern #gomakestuff

