STEAM Stargazing Kaleidoscope DIY
Share
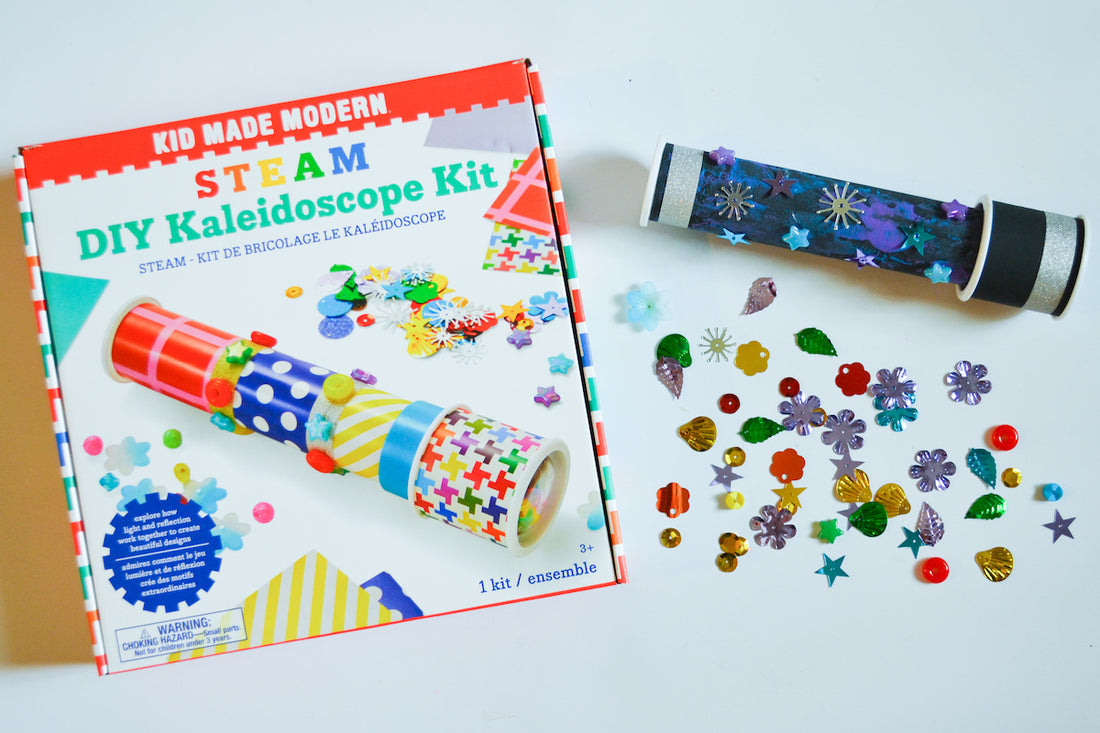
Make your own kaleidoscope inspired by the night sky using the STEAM DIY Kaleidoscope Kit! The kit walks your step-by-step through the process of building your kaleidoscope and includes everything you need to make it! Add a little paint and some glue to give your kaleidoscope a starry makeover. Read below for the full tutorial.
Materials Needed:
- STEAM DIY Kaleidoscope Kit
- Washable Paint Set (black, blue, purple and yellow)
- A plastic tray
- Paintbrushes
- Glue

Instructions
Step 1
Open up your DIY Kaleidoscope Kit! For this first step, you will need the large and medium paper tubes. First, paint the tubes with black paint. Once the black paint dries, use a paintbrush to apply thick, random lines of blue and purple paint onto a plastic tray. Use your hands to gently roll your large tube through the paint. This will give your tube a galaxy effect! Let this paint dry, and then use yellow paint to paint on some small stars (optional).

Step 2
Follow the instructions in your kit to assemble your kaleidoscope! For the beads and sequins, we chose to use blue, purple, silver, and gold to match the colors on the outside of our tube. We also used lots of star-shaped beads and sequins.

Once your kaleidoscope is assembled, test it out to see if you like the effect of the beads you chose. You can make adjustments to add more or remove beads until you love the look.


Step 3
After your kaleidoscope is assembled, you can finish decorating it. Use the washi tape and any leftover beads and sequins to decorate the outside of your tube. We glued stars all over the long tube to make it look even more like the night sky! Now you are ready to use your stargazing kaleidoscope.


