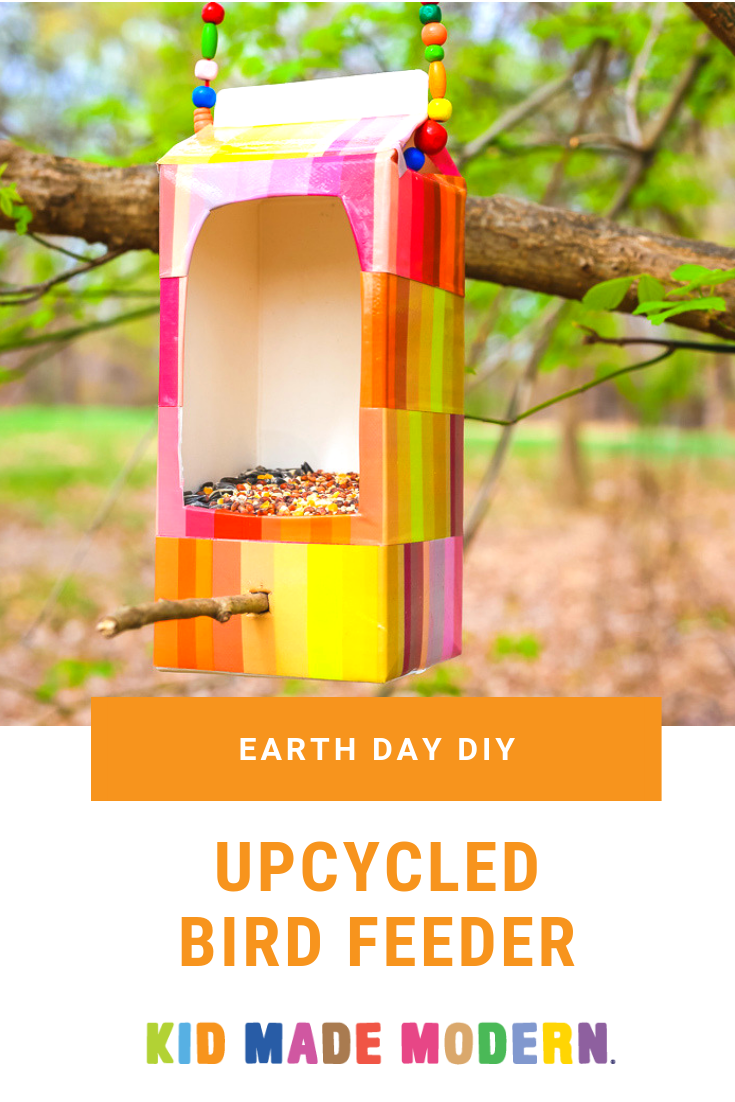
Upcycled Bird Feeder
Share
We love finding earth-friendly ways to re-use items from everyday life in arts + crafts. Not only does this project help lighten your recycling bin's load, but it lends a helping hand to our feathered friends. Perfect for Earth Day!
Materials:
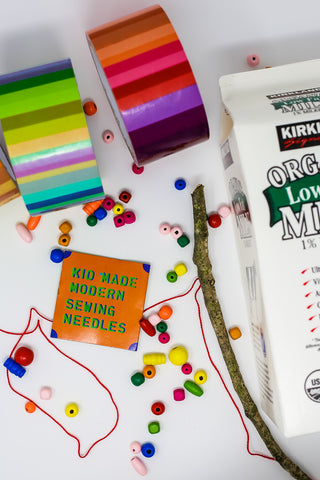
- an empty and cleaned milk or juice carton
- a craft knife or sharp scissors
- embroidery floss or other sturdy string (we scooped ours from our Arts and Crafts Supply Library)
- beads (SO many of our craft kits have super cool beads!)
- sewing needle
- sturdy stick
Steps:
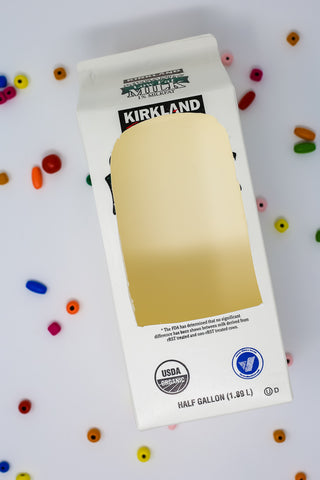
1. Cut opening -- use your craft knife to carefully cut an oblong hole into the front of your carton. You want it big enough for birds to be able to reach into, but up high enough on the carton that you can fill the bottom of it with birdseed.
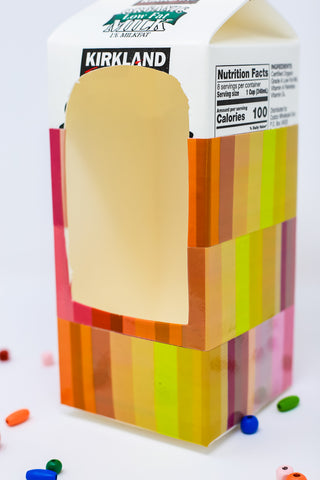
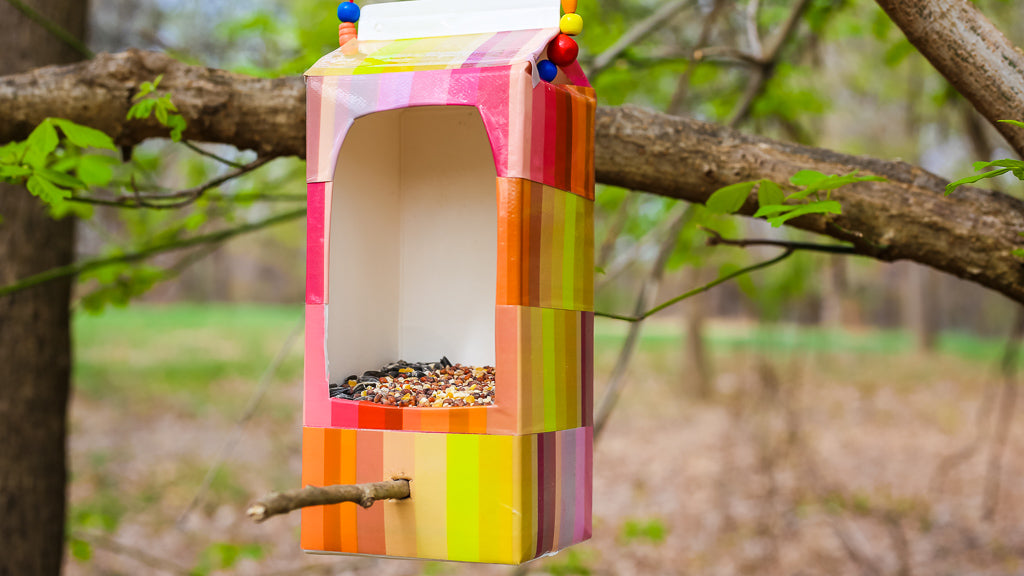
2. Decorate with duct tape -- use Kid Made Modern's awesome assortment of duct tape to decorate the outside of the carton. You may need to do two layers to cover up text on the carton.
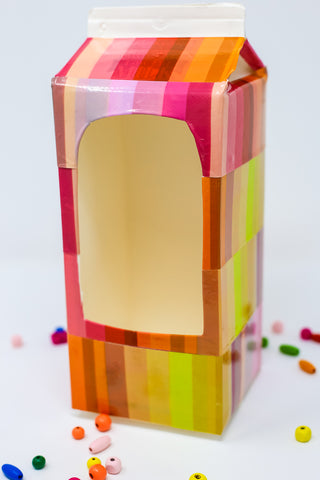
As you work, cut tape over the opening you just made and fold inward. Work until you've got the design and coverage you like.
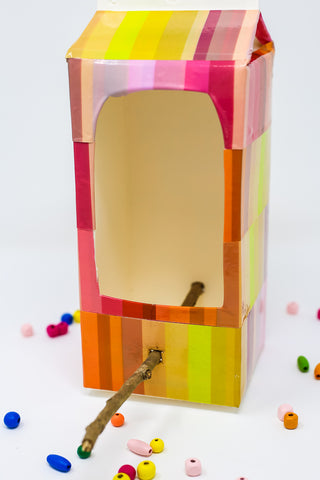
3. Add bird landing -- cut an X shape with your craft knife into the front of your carton and insert the stick. Repeat on back of carton and push the stick through. This will create a nice sturdy landing for birds to sit and dine.
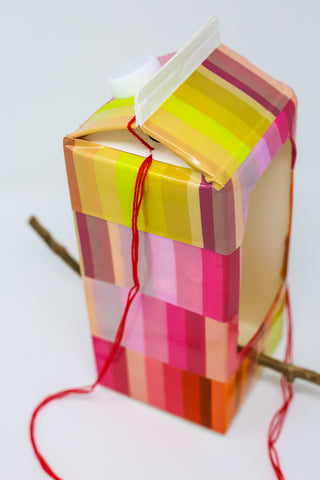
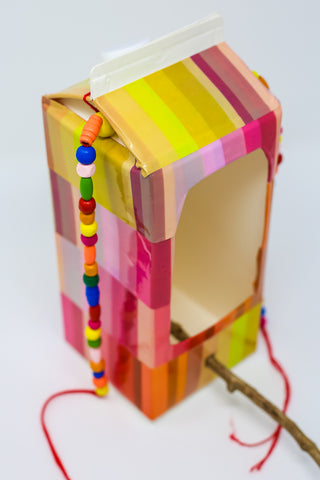
4. Add hanger -- cut three long pieces of embroidery floss. Cut two small Xs on opposite sides of the top of the carton. Working one piece at a time, thread floss through one hole, into the carton, and back out the other side. Loop over the back of the carton and repeat. Do this a few times with all three pieces of floss. When you are done, you should have a tail of three pieces hanging out each side of the carton. Add any beads you like!
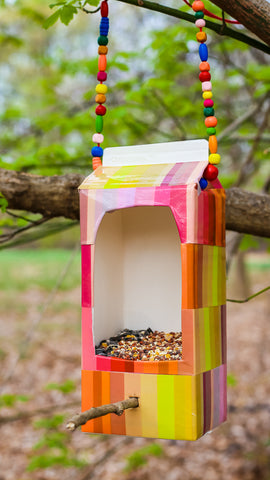
Add some bird seed to the bottom of your carton, hang your feeder outside, and see who comes to dinner!
***
Shop Our Kid Made Modern Duct Tape Here!

