Basic Beaded Jewelry Making Techniques + Knots
Share
Have you seen all of our amazing jewelry making kits!? From starter sets to the chock-full Jewelry Jam Craft Kit, we've got something for every level of maker. To help you get going, we put together an overview of a few basic beaded jewelry making techniques and knots. So get practicing and see what you can create!
Basic Techniques -- our kits all work well to create handmade beaded jewelry. Necklaces, charms, bracelets, anklets, and rings can all be made using a few basic techniques.

- Single loop + Multistrand -- single loops are just what they sound like. Tie a knot to get started (see below) and then slide on beads in whatever pattern you like. Then tie another knot to finish and secure two ends together.

To create a multi strand piece, tie several pieces of thread onto a jump ring from the kit. Slide beads onto each strand as you like. And then tie the ends onto another jump ring from the kit.


Or you can create a longer single loop strand that you can wind several times into a multistrand necklace or bracelet.
- Basic Woven Pattern -- there are many different weaving patterns you can try, but one of our favorites is a simple one-to-two pattern. Tie two lengths of thread together. Slide one bead onto both strands.

Then separate the strands and add one bead to each. Bring them back together and thread through one bead. Repeat pattern.

The pattern will look different depending on the size and shape of beads you use, so it's a good one to experiment with a bit.

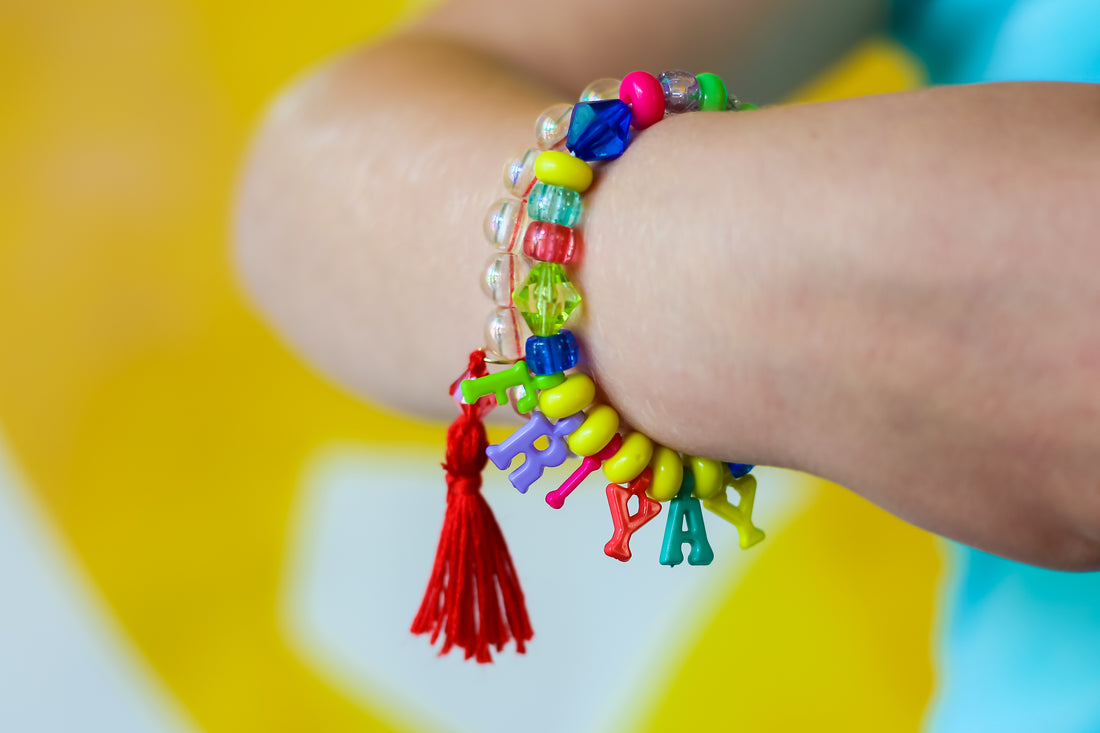
- Add a Dangle -- once you've tried a few of the basic strand techniques, attach a dangle! The dangle can be a kit charm or a handmade tassel of thread (see our tutorial here) or beads. Simply attach your dangle to a jump ring and the jump ring to your strand of beads.

Basic Knots -- knots are important to start and finish a piece of jewelry, but also can be used as part of the design itself. Here are a few basic knots to get you started.
- Overhand knot -- this is the most basic knot and you probably already use it daily. You'll cross the two ends of your thread over each other, pass one through the loop created, and pull taut.


Makers use overhand knots most frequently to start or finish a strand of beads. You can also use these to create what's called a "pearl knotting" effect with jewelry -- simply tie an overhand knot in between and flush with beads on a strand. This will hold each bead in place and creates a sturdy piece by separating each bead on a strand.

- Half-Hitch Knot -- the half-hitch knot is often used to add new threads or hold beads in place. It's essentially an overhand hand knot but just tied around a bead. Slide one end of the thread through your bead.

Then cross the end back over the top of the bead to tie an overhand knot. Continue adding additional beads, carefully sliding the beads close to each other before pulling the knot taught.


- Lark's Head Knot -- this simple knot is the perfect way to attach a larger pendant or tassel to your strand. Fold your strand in half at the center.

Slide the fold through the pendant or jump ring.

Fold the ends of the strand over the top of the pendant or jump ring and down through the loop in your strand.

Pull the ends taut to create the knot.


