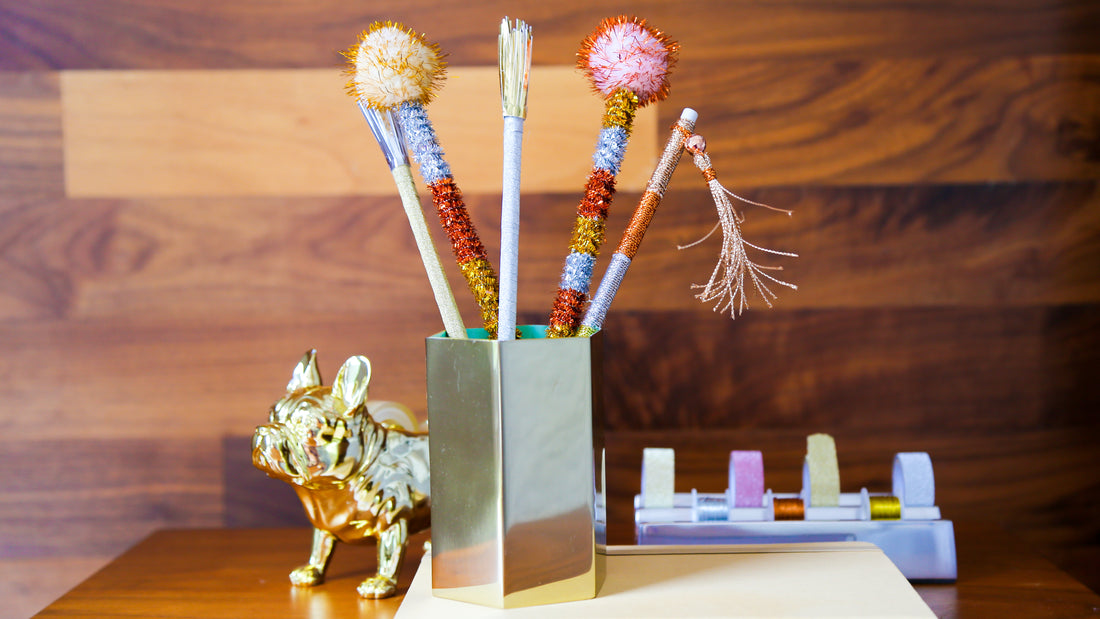
Metallic Pencil Decorations
Share
Even if you can find a pencil around the house (and you'll have better luck doing that if you've already made our DIY Pencil Holders), kiddos are more likely to keep an eye on writing utensils if they've made them their own. And with a little help from the Smarts & Crafts Metal Mash-Up Kit, they can do just that. The kit is chock full of shiny bits perfect to accessorize any plain pencil. We've given you a few ideas to get started below.

Supplies
- Kid Made Modern Smarts & Crafts Metal Mash-Up Kit
- Hot glue gun (REMINDER: exercise precaution and supervise kids when using a hot glue gun)
- A ruler or thin piece of cardboard (for tassel making)
- Scissors
Steps
Fuzzy Sticks + Poms

1. Decorate the barrel -- pick a few different colors of fuzzy sticks and unwind each of the ends. Dab a bit of hot glue at the bottom of the pencil, where the straight part of the barrel begins. Hold one end of a fuzzy stick on for a few seconds and then wind it down the length of the barrel. Dab another bit of hot glue at the end of your first fuzzy stick and secure it. Repeat with each color of fuzzy stick until you've covered the entire barrel.

2. Pom it! Put a medium-sized dab of hot glue on the pencil's eraser. Push a pom onto the glue and hold securely while the glue dries.

Glitter Tape + Fringe

1. Tape the barrel -- pick a color of glitter tape and, starting at the bottom part of the barrel closest to the point, wind the tape around and cover the wood.

2. Fringe it! Pick a piece of metallic sticker sheet from the kit. Remove the sticker backing. Using a pair of scissors, make small cuts into the sticker sheet, stopping before cutting all the way through. The closer together your cuts are, the better the fringe looks. Dab a bit of glue onto the metal top of the pencil and adhere one end of your fringe. Wind the fringe around and secure with another dab of glue. Cut off excess trim. You can add another layer of overlapping fringe on top, just a little farther down the pencil if you want.


Cord + Tassel

1. Decorate the barrel -- pick as many colors of cord as you'd like to decorate the barrel. Place a dab of glue at the bottom of the pencil, just where the straight section of the barrel starts. Starting with one color of cord, press it to the glue and hold for a few seconds. Then wind it down the length of the barrel covering the wood. Dab more glue to secure the end and trim any tails. Repeat with additional colors of cord to cover the entire barrel.

2. Tassel it! Pick one or two colors of cord and make a tassel following our tassel tutorial (click here!). Slip a metallic bead from the kit onto the top cords of the tassel. Then tie it onto the top of the pencil, near the eraser.

* * *
Buy our Smarts and Crafts Metal Mash-Up Kit here!

* * *

